A backyard playset is only as good as the area around it. Drop a swing set on bare grass and you'll have a mud pit within a month and a safety hazard from day one. I've been through it. Here's how to build a proper play area that's safe, holds up to real kid use, and doesn't turn into a maintenance nightmare every spring.
Pick a flat area with good drainage that's visible from your kitchen or living room window — you want to supervise while still functioning as a human. Keep the playset away from fences, trees, and overhead power lines. You need a clearance zone of at least 6 feet in every direction around the equipment. That's called the fall zone, and it's where most injuries happen. Plan for it upfront or you'll be moving the whole thing later.
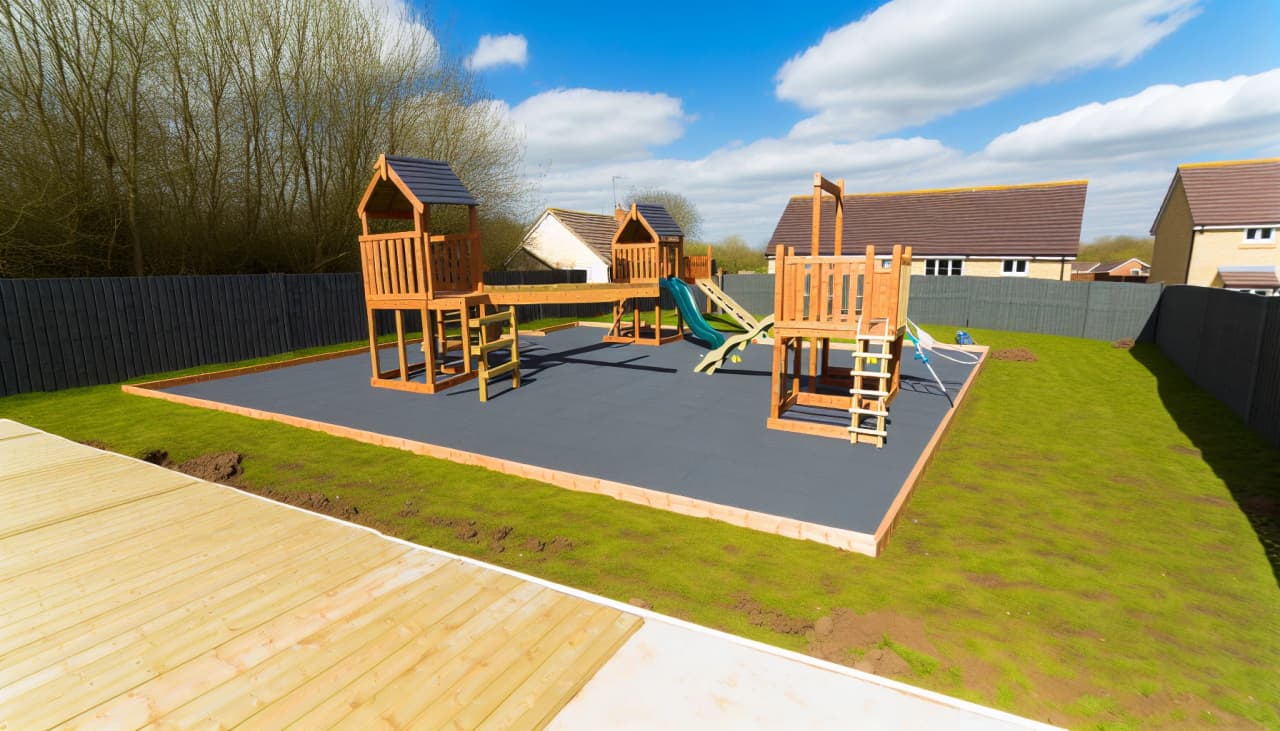
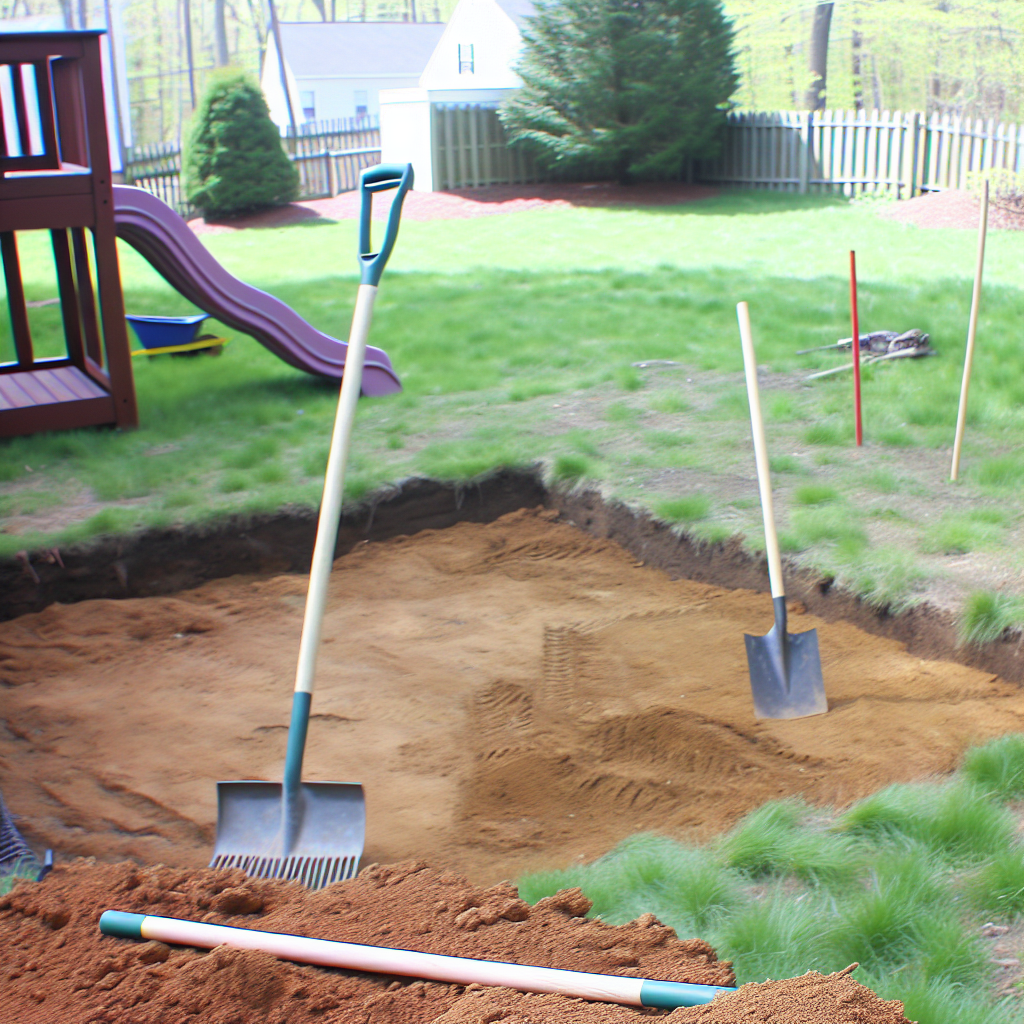
Strip the grass and level the area. This is the least glamorous part of the whole project, but it's the most important. Rent a sod cutter for large areas or use a flat shovel for smaller zones. Level with a garden rake, tamp it down solid, then lay landscape fabric to keep weeds from pushing through your safety surface. Skip the fabric and you'll be pulling weeds out of your rubber mulch by July.
This is where most DIY dads cut corners. Don't. The CPSC recommends impact-absorbing surfacing under and around all play equipment. Here's how the options stack up:
Depth matters: playground mulch needs 9–12 inches of material to provide adequate fall protection from a standard playset height. Don't skimp on depth to save a few bucks. That's not a trade worth making.
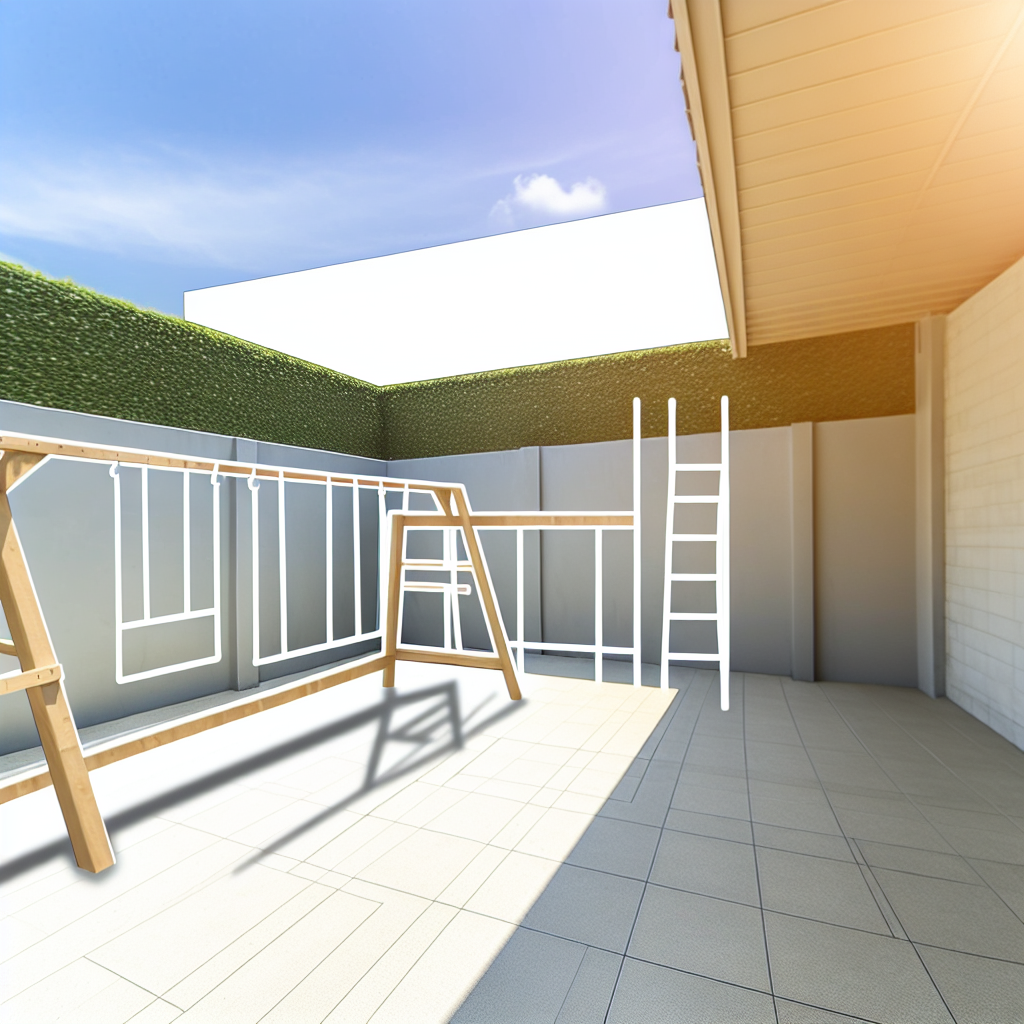
Use landscape timbers or rubber border edging to create a contained area that keeps your surfacing material where it belongs. Without edging, mulch and gravel migrate into your lawn within weeks — I watched it happen in real time. Stake the timbers into the ground and double-check there are no sharp edges or exposed hardware at kid height.
Whether you're assembling a kit or going full custom, anchor it. Every playset needs to be secured to the ground with concrete footings or ground anchors. A playset that rocks or tips is a liability, full stop. Follow the manufacturer's anchoring instructions exactly — this isn't the place to improvise.
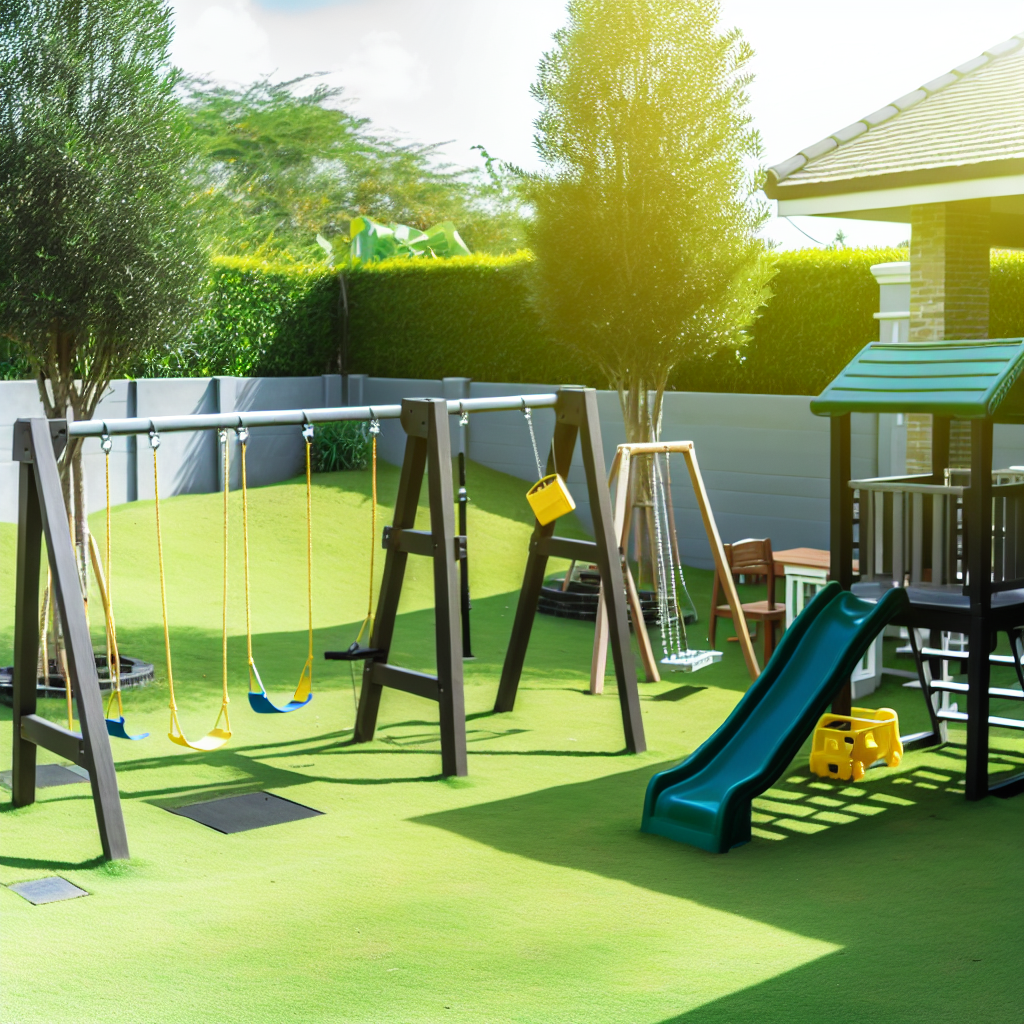
For younger kids (ages 2–5), focus on low platforms, bucket swings, and short slides. For older kids, add monkey bars, belt swings, and climbing walls. Most kits are modular, so you can start simple and bolt on features as they grow. That's actually the smarter play — don't overbuild for a 3-year-old.
Once the structure is solid, this is where it gets fun. A few additions that actually get used at our place:
After a full weekend of prep and another half-day on install, our backyard play area has held up for three seasons without major issues. The ground prep and surfacing work nobody sees is what makes the whole thing work. Do it right once and you won't be redoing it every spring. Your kids will use it more, it'll look better, and you'll actually feel good about letting them go wild out there.
Liked this guide?
One email when there's actually something worth saying. Plus dad-tested stuff before they go up.

— Boss Daddy Gear