Every dad deserves a real workspace. Not a fantasy shop with $50,000 in tools — a functional workshop that lets you fix things, build things, and escape the Cocomelon soundtrack for an hour. I set mine up for under $500, and here's exactly how I did it.

You probably can't dedicate the entire garage — the cars, bikes, strollers, and seven years of holiday decorations already filed their claims. But you can claim one wall, and that's all you need. A single wall with a workbench, pegboard, and overhead lighting is a fully functional workshop.
Measure your available wall space and plan for three things: a workbench at least 4 feet wide, wall-mounted tool storage above it, and enough clearance to actually stand and work comfortably. That's your zone. Own it.

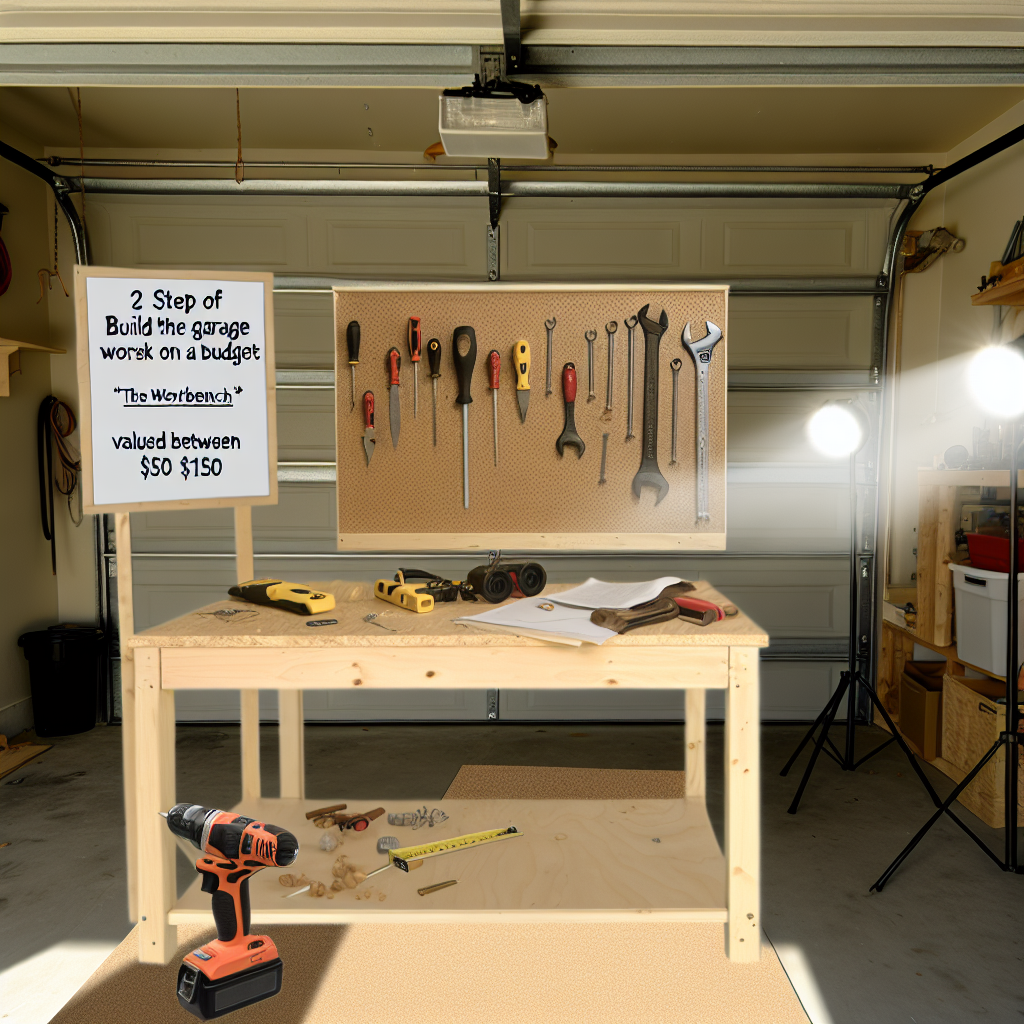
Don't overthink this. A solid workbench can be as simple as a solid-core door slab laid across two sawhorses. For something more permanent, I built a 2x4 frame topped with 3/4" plywood — it'll handle anything you throw at it, including that one project where you somehow need both hands and a knee.
Key specs to hit: 34–36 inches tall (standard work height), at least 24 inches deep, and as wide as your space allows. If building isn't your move right now, there are solid pre-made options under $150 that fold flat for storage when the in-laws need to park.
Metal pegboard beats traditional pegboard in every way — the hooks lock in and don't fall out every time you grab a screwdriver. Mount a panel above your workbench and organize your most-used hand tools: hammer, pliers, screwdrivers, tape measure, level, and wrenches.
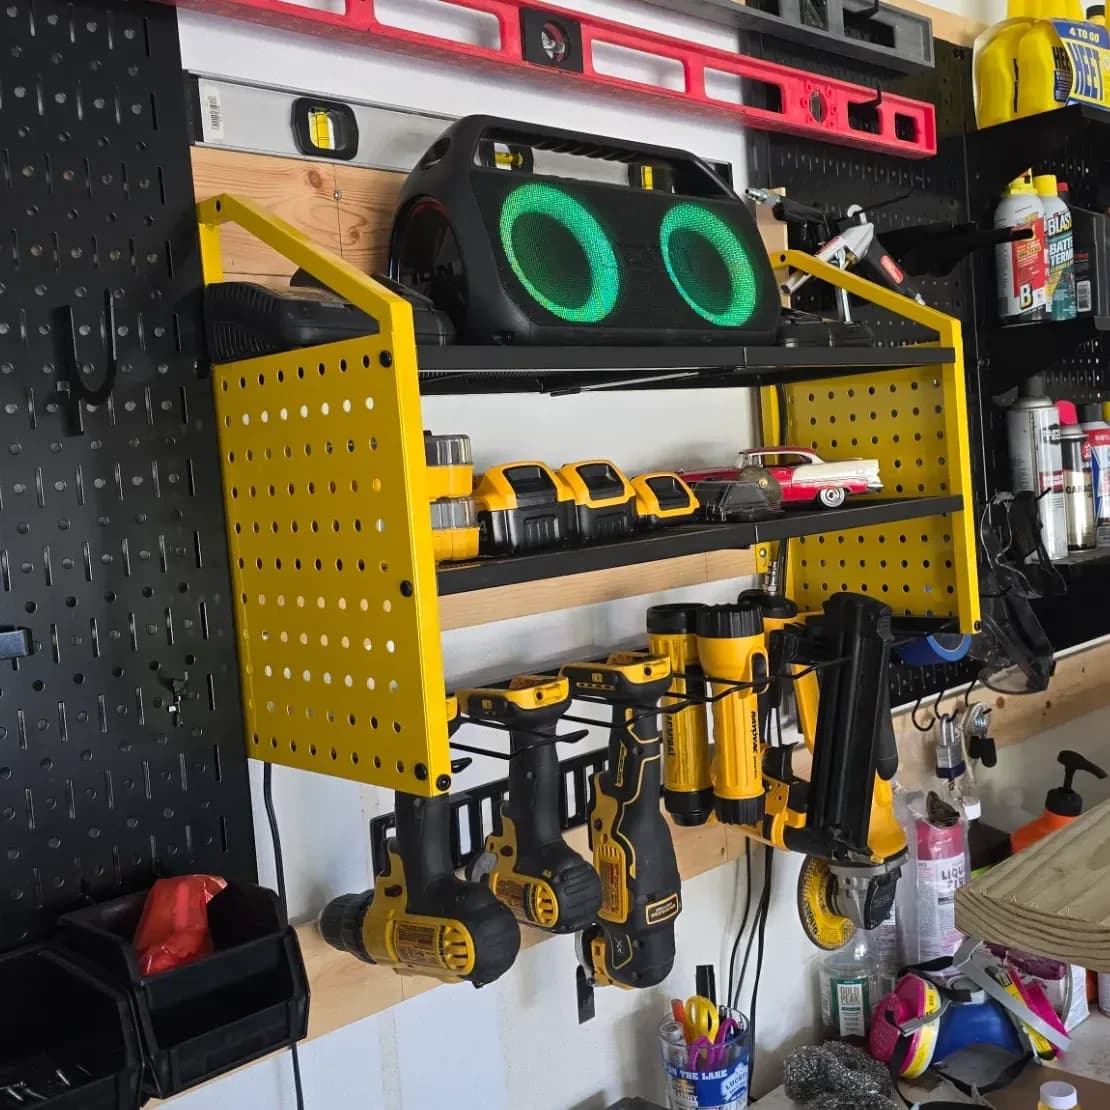
For power tools, a wall-mounted organizer with a built-in charging station keeps everything accessible and always charged. Hang it right next to your workbench for grab-and-go access. No more hunting through drawers for a drill that's dead anyway.
Good lighting transforms a workspace. I mounted two 4-foot LED shop lights directly above my workbench and it was a legit game changer. Go with 5000K (daylight spectrum) for accurate color rendering — you'll actually be able to tell if you painted the trim the right color. These plug into a standard outlet and link together, so installation takes about 20 minutes.
Mount a surge-protected power strip at the back of your workbench so you're never stretching an extension cord across the floor like a trip hazard dad. Then round out the setup with:
After a couple weekends of setup, I have a workspace where I can actually get things done. The kids know that when the shop light is on, Dad is working. That alone was worth the $400.
Liked this guide?
One email when there's actually something worth saying. Plus dad-tested stuff before they go up.
Guides

5 Weekend DIY Projects Every Dad Can Finish in One Saturday
No three-weekend sagas here. These 5 dad-tested DIY projects — floating shelves, fire pit, mudroom bench, and more — are done before bedtime.

5 Home Repairs Every Dad Should Know How to Do Himself
Stop calling the guy. These 5 home repairs are dad-learnable in an afternoon and will save you hundreds every year in service calls.

— Boss Daddy Gear